
Last updated October 30, 2026
 Architectural shingles
 Metal roofing
 Tile roofing
 GAF
 Owens Corning
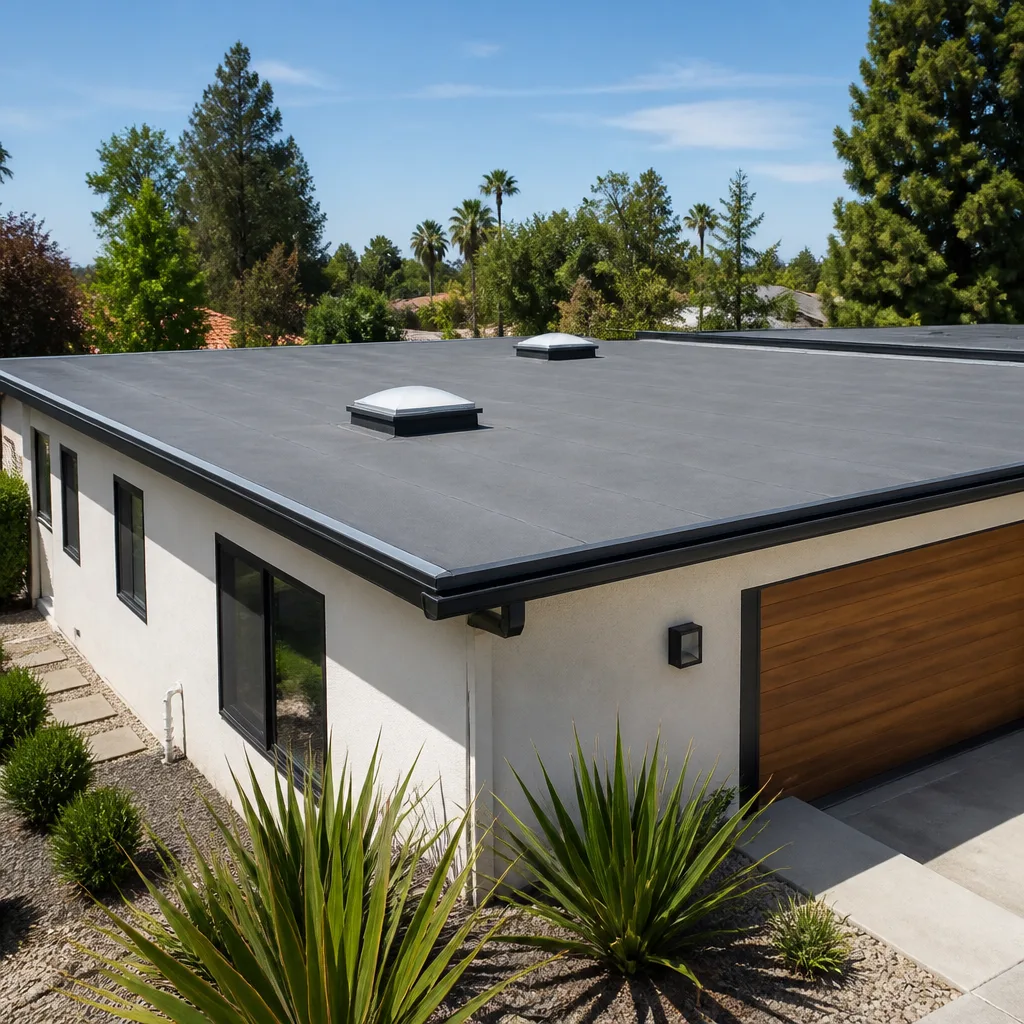 Flat & low-slope
Free roof inspection with deck photos before we talk money - GAF and Owens Corning certified installation
Roof Repair Maintenance Checklist for Pomona Homeowners
The most expensive roof repair a Pomona homeowner will ever pay for usually traces back to a $40 tube of caulk that never got applied to a flashing joint, not a catastrophic storm event. The Inland Empire sun bakes roofing materials in ways that coastal homes never experience, and the Santa Ana winds work loose what the heat has already weakened. This guide is a failure-mode-first checklist, designed specifically for how roofs degrade in Pomona, so you can spot problems before they become invoices. You’ll learn which specific areas fail first on western and southern exposures, what to check after every Santa Ana event, and how to document what you find.
Styles & brands we work with
Quick Answer
A Pomona roof maintenance checklist should focus on four failure modes in this order: granule loss on sun-exposed slopes, flashing separation at every penetration and transition, fascia and soffit rot on shaded north and east eaves, and debris buildup in valleys. Walk the perimeter with binoculars monthly, inspect after every Santa Ana wind event, and document everything with dated photos. Most roof problems in Pomona are visible from the ground or a ladder long before they leak, if you know which direction to look.
Table of Contents
- Why This Checklist Is Organized by Failure Mode, Not Month
- How Pomona Sun Exposure Dictates Where Your Roof Fails First
- Granule Loss: The First Domino on Western and Southern Slopes
- Flashing Separation: The $40 Problem That Becomes a $4,000 One
- Fascia and Soffit Rot: Why Shaded Eaves Fail Quietly
- Valley Buildup: Where Debris Finds a Home and Water Finds a Path
- The Post-Santa Ana Inspection: Beyond Missing Shingles
- DIY-Safe Inspection Boundaries: What to Check From a Ladder vs. On the Roof
- How to Document Roof Findings So You Can Track Change Over Time
- Common Mistakes to Avoid
- When to Call a Professional
- Frequently Asked Questions
- The Bottom Line
Why This Checklist Is Organized by Failure Mode, Not Month
Most roof maintenance checklists read like a calendar reminder: check gutters in October, look for moss in February, inspect flashing in June. But Pomona’s climate does not work on a calendar. The intensity of summer sun, the timing of Santa Ana winds, and the near-total lack of regular rain mean that roofs here degrade by specific mechanisms, not by season. A homeowner who checks “gutters in October” without knowing why valley buildup matters is going through motions, not maintaining a roof.
We organize our inspections around the four failure modes we see most often in Pomona homes. Granule loss on sun-bleached slopes. Flashing separation at pipes, chimneys, and wall transitions. Fascia rot on perpetually shaded eaves. And valley buildup where debris collects and holds moisture against shingles. Each has a unique cause, a unique early warning sign, and a unique inspection protocol. When you know what you are looking for, you stop checking the same things everyone else checks and start checking the things that actually fail.
This approach also makes your documentation more useful. Instead of a folder of photos with no context, you build a record organized around specific risk areas. When you call a contractor, you can say “I have three years of photos showing the flashing on the south chimney pulling further away each year,” not “my roof looks old.” That specificity changes the conversation from a sales pitch to a maintenance decision.
How Pomona Sun Exposure Dictates Where Your Roof Fails First
Pomona averages 287 sunny days a year, with summer temperatures routinely above 90 degrees. That heat is not distributed evenly across your roof. The western and southern slopes absorb direct afternoon sun at the hottest part of the day, and that exposure creates a measurable difference in material degradation. We see shingles on a west-facing Pomona roof lose granules and curl years before the north-facing slope of the same roof shows any change.
This uneven wear means your inspection effort should also be uneven. Spend seventy percent of your inspection time on the western and southern planes. The north and east slopes need a check, but they are rarely the first to fail. In neighborhoods across Pomona, from Phillips Ranch to Ganesha Hills, the pattern repeats: the sun-facing slope is the one that needs repair first, and the shaded slope is the one where moisture lingers and fascia rots.
Early signs of sun damage on western and southern exposures include a visible color shift where the slope faces the sun, shingle edges beginning to curl upward, and granules collecting in gutters below those slopes. None of these require getting on the roof to observe. A pair of binoculars from the yard or across the street will reveal more than a ladder at the eave will. The key is knowing that the sun-facing slope is the place to look first, every time.
A material note for Pomona homeowners: not every shingle responds to heat the same way. Options from manufacturers like CertainTeed, Owens Corning, IKO, and Atlas include lines with enhanced UV and heat resistance. When repair or replacement time comes, the right material for a Pomona roof is one engineered for sustained high-temperature sun exposure, not just whatever is cheapest to install.
Granule Loss: The First Domino on Western and Southern Slopes
Asphalt shingles protect themselves with a layer of mineral granules. Those granules block UV radiation from reaching the asphalt beneath. When granules slough off, the asphalt is exposed to direct sunlight, and it begins to dry, crack, and fail. Granule loss is the first visible sign of aging on a Pomona roof, and it happens fastest on the slopes that take the most sun.
Here is the inspection protocol we recommend for granule loss:
- Check the gutters first. Look at the gutters below your western and southern slopes. If you see a collection of dark granules that looks like coarse sand, your shingles are shedding. Compare to the gutters below the north and east slopes. A noticeable difference is your early warning.
- Inspect the sun-facing slopes with binoculars. Look for shingles that appear lighter in color than their neighbors. This is not dirt. It is granule loss exposing the asphalt base. Also look for a pattern where the upper portion of each shingle looks darker than the lower portion; that is the exposed asphalt starting to show.
- Note any shingles that look shiny or slick. Bare asphalt reflects light differently than granule-covered areas. On an overcast day, these spots look almost wet.
- Document with photos. Take photos of any bare spots or granule-heavy gutters. Do this at the same angle each time so you can compare year over year.
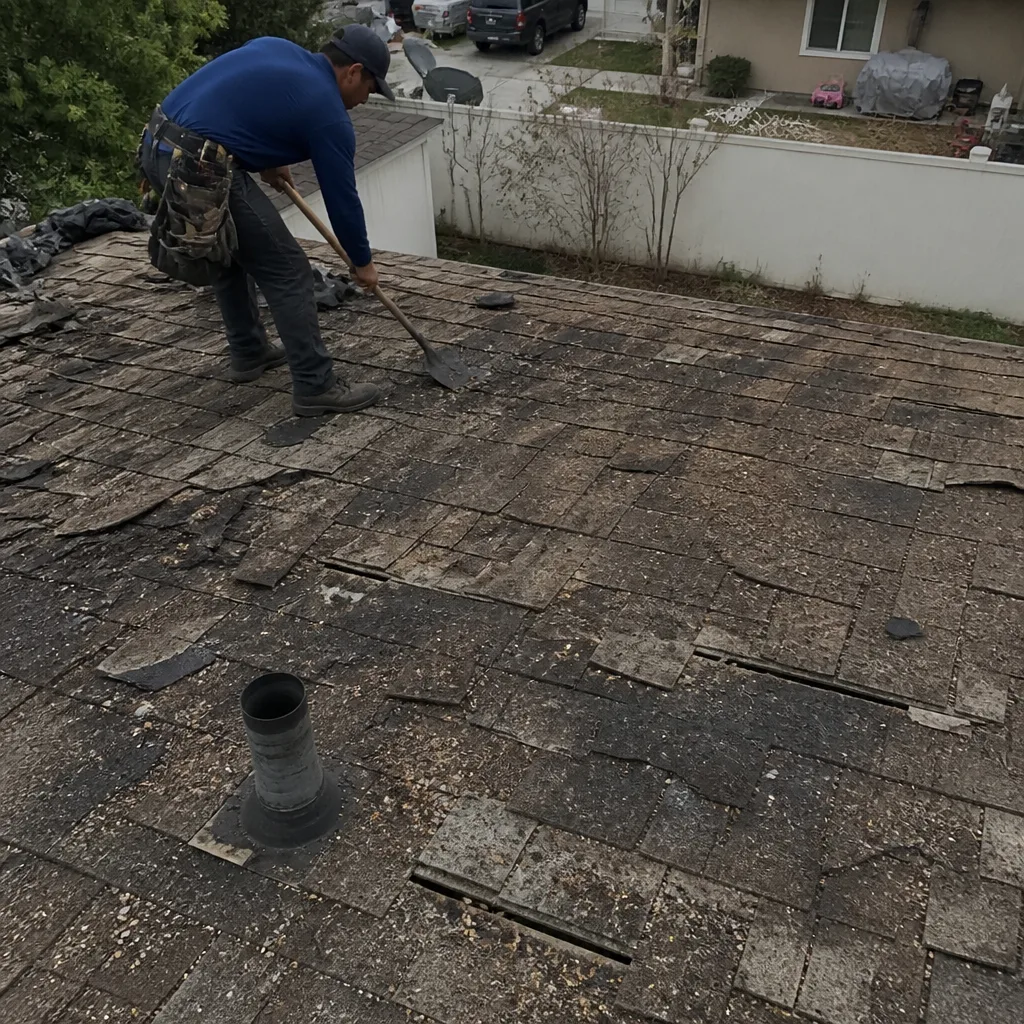
Granule loss itself does not mean your Pomona roof needs replacement. Localized granule loss can remain stable for years. But progressive granule loss across a sun-exposed slope is the first step in a sequence that ends with cracked shingles, water intrusion, and decking damage. Catching it early gives you years of lead time to budget for a Roof Replacement in Pomona rather than weeks. It also tells you which type of replacement material to prioritize when the time comes.
Flashing Separation: The $40 Problem That Becomes a $4,000 One
Flashing is the metal or rubber material that seals the places where your roof meets something else: pipes, chimneys, walls, skylights, and vents. In Pomona, flashing fails in a predictable pattern. The extreme heat cycles cause the sealant around flashing to dry and crack. Then the Santa Ana winds flex the flashing itself. The combination pulls flashing away from the roof surface, creating an opening for water.
Here is the flashing separation inspection protocol we follow:
- Start at the chimney. Chimneys are the most common flashing failure point on Pomona homes, especially on south-facing slopes where the chimney base takes full sun. Look for cracked or missing sealant along the seam where the flashing meets the chimney masonry. Use binoculars to check the top edge of the flashing where it is set into the mortar. This is where water gets behind flashing and runs down inside the wall.
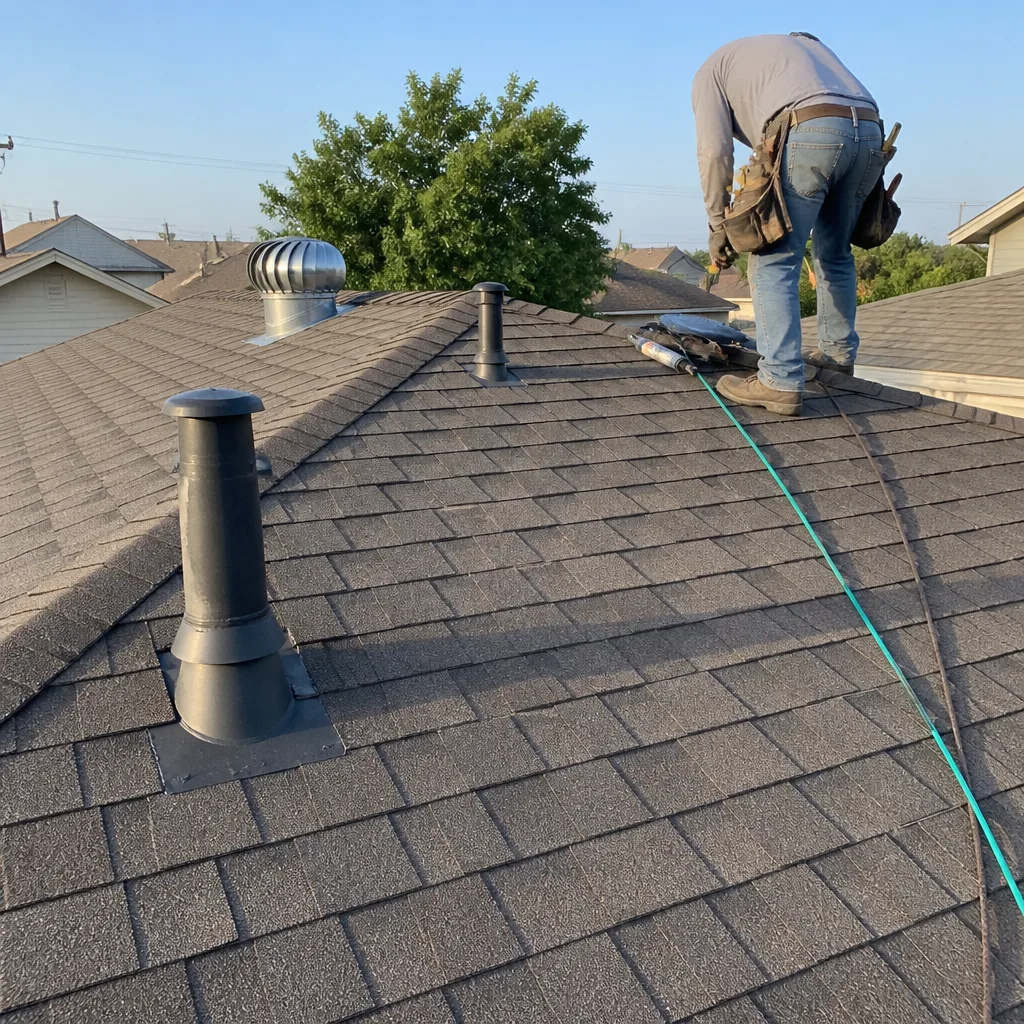
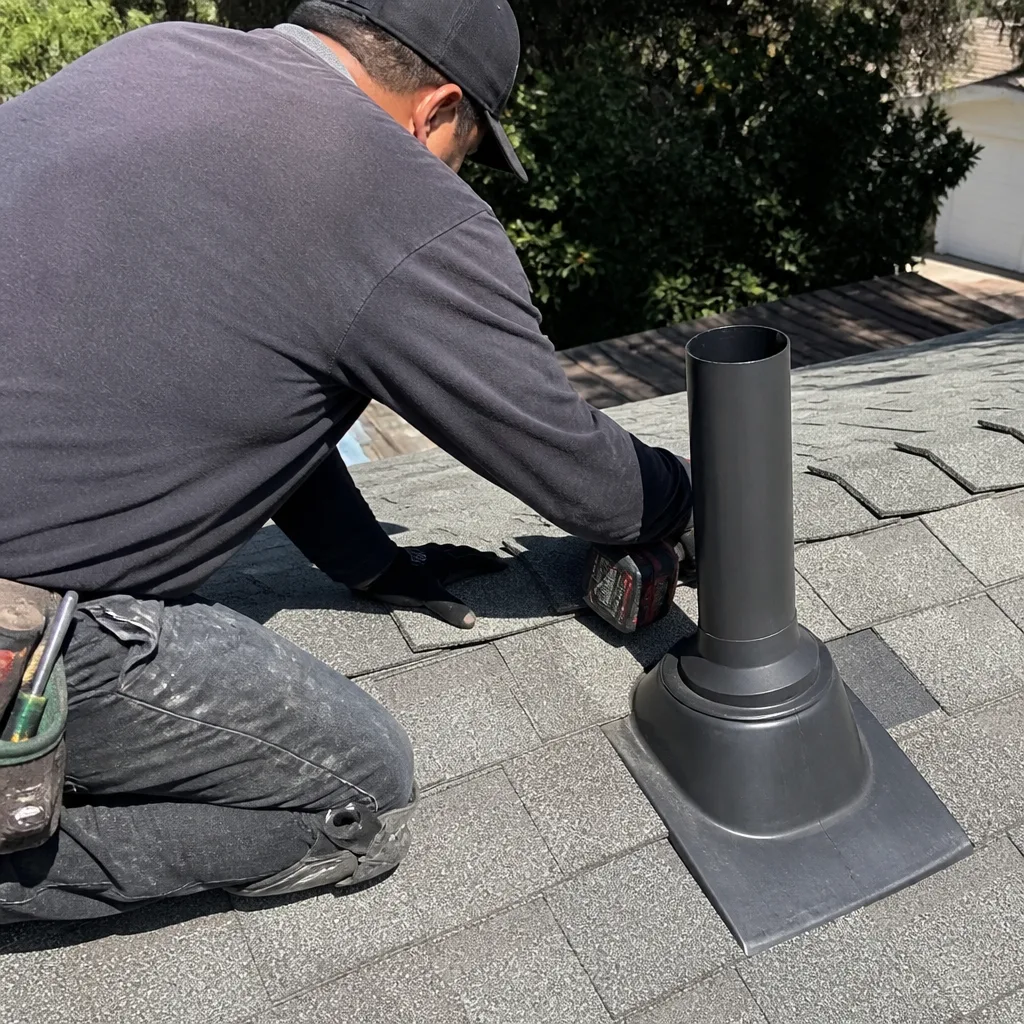
- Check every pipe boot. The rubber boots around plumbing vents degrade rapidly in Pomona’s UV-dense sunlight. Look for cracks in the rubber, especially on the sun-facing side of the boot. A cracked pipe boot can leak for months before water shows up on a ceiling, because the water runs along the underside of the decking before finding a path down.
- Inspect wall-to-roof transitions. Wherever your roof meets a vertical wall, there is step flashing and counter-flashing. Check that the counter-flashing is still seated and that no sealant has pulled away. On western exposures, this sealant is often the first to go.
- Look at skylights and satellite dish penetrations. Any penetration in the roof surface is a potential water entry point. Satellite dishes are particularly vulnerable because they are often installed without proper flashing updates, and the mounting bolts work loose in wind.
The frustrating reality is that most flashing leaks in Pomona could have been prevented with a tube of sealant applied at the right time. The repair itself is inexpensive. The damage caused by ignoring it is not. Flashing separation is the number one reason we recommend a professional Roof Inspection in Pomona when a homeowner is not comfortable evaluating these areas themselves. Sealing a joint is simple. Knowing which joint is about to fail is what takes experience.
Fascia and Soffit Rot: Why Shaded Eaves Fail Quietly
While the sun-facing slopes bake, the shaded north and east eaves of Pomona homes hold moisture. Fascia boards are the vertical boards that run along the roofline, and soffits are the horizontal boards underneath the eave overhang. In Pomona’s dry climate, you would not expect rot, but the shaded eaves stay damp longer after rain, morning dew, and sprinkler overspray. Over years, that moisture breaks down the paint and then the wood beneath.
Fascia and soffit rot matters beyond the cosmetic. The fascia board is what the first row of shingles, the drip edge, and often the gutter are fastened to. When the fascia rots, those attachments loosen. Once the gutter pulls away, even slightly, water that used to be carried away from the foundation now runs down the wall or behind the gutter, accelerating the rot and creating new problems.
Here is the fascia and soffit inspection protocol:
- Walk the perimeter and look up. Check the underside of every eave. Look for paint bubbling, peeling, or discoloration. Rot often shows as swollen or puckered wood before it shows as softness.
- Press on suspect areas with a screwdriver. If you are on a ladder and can safely reach, press gently on areas that look discolored. Rotted wood compresses. Solid wood resists. Do not press hard enough to damage good wood.
- Check gutters for sagging or pulling away. A gutter that is pulling from the fascia is a sign that the wood behind it has degraded. The fasteners are losing purchase.
- Look for gaps between the fascia and the roofline. Gaps that were sealed with caulk and have now opened indicate that the wood is shifting as it rots.
- Check soffit vents. Pomona attics need ventilation to stay cool in summer. Clogged or painted-over soffit vents trap heat, which shortens shingle life on the entire roof. Use a flashlight from the attic side if accessible, and check that each soffit vent is clear.
Fascia and soffit repair is part of a complete Roof Repair in Pomona scope, not an add-on. If you are replacing a few shingles and the fascia below them is soft, the repair will not hold. The shingles nail into that wood. At Millstone Roofing, we inspect first and document what we find, so you know whether your repair is a shingle issue or a wood issue before any work begins.
Valley Buildup: Where Debris Finds a Home and Water Finds a Path
Roof valleys are the V-shaped channels where two roof planes meet. They are the primary water pathways on any roof, channeling runoff from the entire upper slope to the gutter. In Pomona, valleys collect more than water. Leaves from neighborhood trees, dust, and debris from Santa Ana winds all settle in valleys. When debris sits in a valley, it acts like a dam. Water backs up behind it, sits against the shingles, and eventually works its way under them.
But debris buildup is not the only valley problem we see in Pomona. The constant sun exposure on valley shingles, especially on south-facing valleys, weakens the adhesive seals. Once the seal breaks, water from a heavy rain can slide under the shingle tab and into the decking. This is why valleys are the most common leak point on roofs that otherwise look fine from the ground.
Here is the valley inspection protocol:
- Look at every valley from the ground first. Use binoculars. Check for visible debris accumulation, especially at the lower end of the valley where the slope flattens before the gutter.
- Check for lifted or torn shingle edges in the valley. Valley shingles take the most direct water flow. Edges that are lifted or torn are an active leak risk.
- Look for granule loss concentrated in the valley center. Water running through a valley wears granules off faster than anywhere else on the roof. If the valley looks lighter than surrounding shingles, the protective layer is thinning.
- Inspect the valley flashing if visible. Some Pomona homes have open valleys with metal flashing. Check that the metal is intact, not rusted through, and that no edges are lifting.
- After any rain, check for damp spots on the ceiling near the valley line. A valley leak often shows on interior ceilings before it shows anywhere else. The damp spot will typically align with the valley above.
Clearing valley debris is one of the few maintenance tasks a homeowner can do safely from a ladder, provided the valley is accessible and the ladder is properly placed. But if the valley shingles are already compromised, clearing debris without addressing the shingle damage is a temporary measure. We recommend homeowners document what they find in the valley and, if any shingle edges are lifted or torn, schedule a professional inspection before the next rain.
The Post-Santa Ana Inspection: Beyond Missing Shingles
Santa Ana winds are Pomona’s most damaging weather event, not because of rain, but because of sustained, dry, gusting wind. After a significant Santa Ana event, most homeowners do a quick look around for missing shingles, see none, and assume the roof is fine. But the damage from Santa Ana winds is often invisible from the ground and shows up months later as a leak that seems to have no cause.
Here is the post-Santa Ana inspection protocol we recommend after any wind event over 40 mph:
- Check ridge cap seals. Ridge cap shingles run along the peak of the roof. The wind hits the ridge cap at the point of maximum exposure. Look for lifted or missing ridge caps, and check that the sealant at each cap end is still in place.
- Inspect soffit vents. Wind-driven dust and debris can clog soffit vents or push them out of position. A displaced soffit vent is an open invitation for birds and rodents into the attic.
- Look at satellite dish mounts and HVAC penetrations. These are not attached as securely as roof components, and gusting wind flexes their mounting plates. Check that the sealant around the base is intact and that the mount has not shifted.
- Check flashing at every penetration. Wind causes the entire roof assembly to flex. Flashing that was sealed before the wind may have separated during it. Look for any sealant that has pulled away from the flashing edge.
- Walk the perimeter for shingle debris on the ground. If shingles blew off, they are often on the ground around the house. Finding shingle fragments in the yard tells you to look more carefully at the roof even if no bare spots are visible from the street.
- Check the corners. Wind pressure is highest at the roof corners and edges. These are the areas most likely to suffer lifted shingles that remain attached but are no longer sealed.
After a Santa Ana event, it is worth doing this inspection within 48 hours. The longer a lifted shingle goes unsealed, the more drying and curling occur, and the less likely it is that the shingle can be re-sealed rather than replaced. We also recommend taking photos during this inspection, as wind damage that is documented early is easier to address and, if needed, to discuss with a contractor or insurance adjuster.
DIY-Safe Inspection Boundaries: What to Check From a Ladder vs. On the Roof
There is a line between what a Pomona homeowner can safely inspect and what requires professional equipment and training. That line is not about effort or enthusiasm. It is about fall risk. Most roof inspections can be completed from the ground or from a properly secured extension ladder, and we strongly recommend that homeowners stay within these boundaries.
What you can safely inspect from the ground with binoculars:
- Overall shingle condition on all visible slopes, including granule loss, curling, and cracking
- Flashing condition at chimneys, pipe boots, and wall transitions visible from the yard
- Valley debris and shingle condition at the valley center
- Ridge cap condition, especially after wind events
- Fascia and soffit condition along the eave line
What you can safely inspect from a ladder (with the ladder properly placed and stabilized):
- Gutter contents and granule accumulation
- Fascia boards in reachable areas, including pressing on suspect spots to check for rot
- Low-slope shingle edges along the eave
- Soffit vents near the ladder position
What requires getting on the roof surface and should be left to a professional:
- Walking any slope to inspect areas not visible from the perimeter, especially on steep pitches
- Inspecting and sealing flashing at chimneys, skylights, or wall transitions that require being on the roof surface
- Any inspection of a roof with a pitch steeper than 6:12
- Any work involving a ladder extended onto a roof edge
- Any inspection after rain or heavy dew, when shingle surfaces are slick
The risk of a fall is not worth the information gained from a closer look. If your ground and ladder inspection raises a question you cannot answer, schedule a professional inspection. Our process at Millstone Roofing is inspection-first: we document what we find and show you the findings before proposing any work. Homeowners in Pomona can call us at (855) 341-6021 to schedule that inspection.
How to Document Roof Findings So You Can Track Change Over Time
Documentation is the difference between guessing and knowing. A Pomona homeowner who takes the same set of photos every quarter builds a visual record that shows exactly what is changing and how fast. That record is invaluable when you call a contractor, because it turns a vague concern into documented evidence.
Here is the documentation protocol we recommend:
- Create a standard photo set. Take the same set of 10 to 15 photos every time: each slope from two angles, the chimney flashing, each pipe boot, each valley, the ridge caps, and any area you have flagged from a previous inspection.
- Use date-stamped file names. Save photos with a naming convention like “2026-03-south-slope-granule-loss.jpg”. This makes year-over-year comparison simple.
- Keep a running log. A one-page document listing the inspection date, weather conditions, what you observed, and any changes from the previous inspection. This does not need to be elaborate; a spreadsheet or notes app works.
- Take photos from the same position each time. Stand in the same spot in the yard, use the same zoom level, and shoot the same area. Changes become obvious when the before and after photos align.
- Photograph areas of concern first. If you notice something new, photograph it immediately before you do anything else. The photo becomes your reference for whether the condition worsens.
- Share your documentation with your contractor. When you call for an inspection or repair, share your photo log. It gives the contractor context about the specific areas of concern and how long they have been developing.
Documentation also protects you. If a leak develops and you need to talk to an insurance company, a dated photo history showing progressive deterioration is far more useful than a description from memory. It establishes that you have been maintaining the roof, which can matter in claim discussions.
At Millstone Roofing, our inspection process produces its own documentation, with written findings and photos from the full surface of the roof. But your own record from the ground, maintained over months and years, adds another layer of context that no single professional inspection can replicate. We inspect first, every time, and your documentation helps ensure that what we find gets viewed against the full history of your Pomona roof.
Common Mistakes to Avoid
- Checking the same areas every time without knowing why. A generic “look at the roof” sweep misses the specific failure modes that actually degrade Pomona roofs. If you are not checking granule accumulation in gutters below sun-facing slopes, you are missing the earliest warning sign.
- Thinking that rain is the only thing that damages a roof. In Pomona, the sun does more long-term damage than rain does. UV exposure, heat cycling, and thermal expansion destroy materials slowly and predictably, and the damage is visible long before it leaks.
- Ignoring small flashing cracks because they seem cosmetic. A hairline crack in pipe boot rubber or chimney sealant is an active water entry point. Every year it remains unsealed, the decking beneath absorbs more moisture, and the eventual repair grows.
- Relying on a visual inspection from the street only. The street view shows less than half the roof. The wall-side transitions, the back slope, and the upper chimney flashing are invisible from the curb and are often where leaks start.
- Clearing valley debris without checking valley shingles. Removing debris from a valley with already-lifted shingles does not solve the problem and may expose a leak that was previously blocked by the debris itself.
- Putting off fascia repair because the roof shingles look fine. Shingles nail into fascia at the eave line. When the fascia rots, shingle fasteners lose their grip, and the shingles fail shortly after. Fascia is a structural part of the roof, not a decorative trim piece.
- Using the wrong sealant on flashing. Not every caulk is rated for roofing. In Pomona’s heat, a cheap outdoor caulk dries and cracks within a year. Roofing-grade sealant is the only product that holds up to sustained UV exposure and high surface temperatures.
When to Call a Professional
There are limits to what a ground-level and ladder-level inspection can tell you. If you see lifted or torn shingles in a valley, you need a professional to evaluate whether the underlayment is compromised before the next rain. If you find soft fascia in multiple locations, the rot may extend into the rafter ends, which requires repair scoping beyond a visual check. If you see water stains on ceilings or walls that align with roof valleys or penetrations, the leak is already active and the time for DIY documentation is over. If your roof is over twenty years old and you are seeing granule loss on sun-facing slopes, a full Roof Inspection in Pomona is the most cost-effective next step. Millstone Roofing offers free estimates in Pomona, and our process starts with a professional inspection that produces documented findings before any repair or replacement is recommended. Call (855) 341-6021 to schedule yours. Visit our Millstone Roofing home page to learn more about how we work.
Frequently Asked Questions
We recommend a ground-level inspection with binoculars every month, a ladder-level inspection quarterly, and a full inspection after every Santa Ana wind event over 40 mph. Monthly checks catch granule accumulation in gutters and new flashing cracks. Quarterly checks catch fascia rot and valley buildup before they advance. The post-wind check catches damage that only becomes visible weeks later if missed.
Roof repair in Pomona typically ranges from $350 for a minor flashing seal to several thousand dollars for valley rebuilds or fascia replacement. The final cost depends on what the inspection finds, the accessibility of the damage, and the materials involved. The cheapest repair is always the one caught before water reaches the decking. Call (855) 341-6021 for an exact quote based on documented findings. Estimates are free.
The determining factors are age, granule loss coverage, and decking condition. A roof under fifteen years old with localized granule loss or flashing issues is usually a repair candidate. A roof over twenty years old with widespread granule loss on sun-facing slopes and multiple active leaks is usually a replacement candidate. The only way to know for certain is a professional inspection that documents what the surface and the decking show. We inspect first at Millstone Roofing, and we recommend repair when repair is right and replacement when replacement makes sense.
Yes. Santa Ana winds flex the entire roof structure, and that flexing breaks adhesive seals, pulls flashing loose, and dislodges ridge caps. None of these are always visible from the ground immediately after the wind event. The damage shows up later, often as a leak during the first rain after the winds. That is why the post-Santa Ana inspection should include ridge cap seals, soffit vents, and every roof penetration, not just a scan for missing shingles.
Minor repairs like sealing flashing, replacing a few shingles, and clearing valley debris typically do not require a permit. Larger repairs involving decking replacement, structural fascia work, or significant shingle replacement may require a building permit through the City of Pomona. A reputable contractor will confirm permit requirements as part of the repair scope. At Millstone Roofing, permits are pulled when required, and inspections are passed before the job is closed.
In our experience, shingles with enhanced UV and heat resistance perform best on Pomona’s sun-facing slopes. Manufacturers like CertainTeed, Owens Corning, IKO, and Atlas all produce specific product lines engineered for sustained high-temperature exposure. The right choice depends on your roof’s pitch, your home’s orientation, and your budget, not on any single brand’s marketing. We work with seven major shingle and material manufacturers, including Roof Replacement in Pomona scopes that include GAF, CertainTeed, Owens Corning, IKO, Atlas, Tamko, and Boral, so the recommended product fits your roof, not our stock.
Flashing separation at pipe boots and chimney bases is the most commonly missed problem because it is small, it is often out of view from the street, and it does not produce visible ceiling stains until the damage is advanced. A cracked pipe boot can leak for months, with the water running along the underside of the decking before finding a path into the living space. Checking pipe boot rubber with binoculars quarterly is the single highest-value inspection habit a Pomona homeowner can adopt.
The Bottom Line
A Pomona roof does not fail all at once. It fails in a sequence, and the sequence is predictable: granule loss on sun slopes, flashing separation at penetrations, fascia rot on shaded eaves, and valley buildup where debris holds water. When you inspect by failure mode instead of by calendar month, you catch each problem at the stage where a small intervention prevents a large one. Document everything with dated photos. Know what you can check safely and leave the rest to a professional. And when the findings point to work, schedule an inspection with a contractor who documents before recommending. Millstone Roofing offers free estimates in Pomona. Call (855) 341-6021 to schedule yours. One crew, one company, from the first inspection to the final shingle.
Written by the team at Millstone Roofing, serving Pomona since 2011.
See the difference
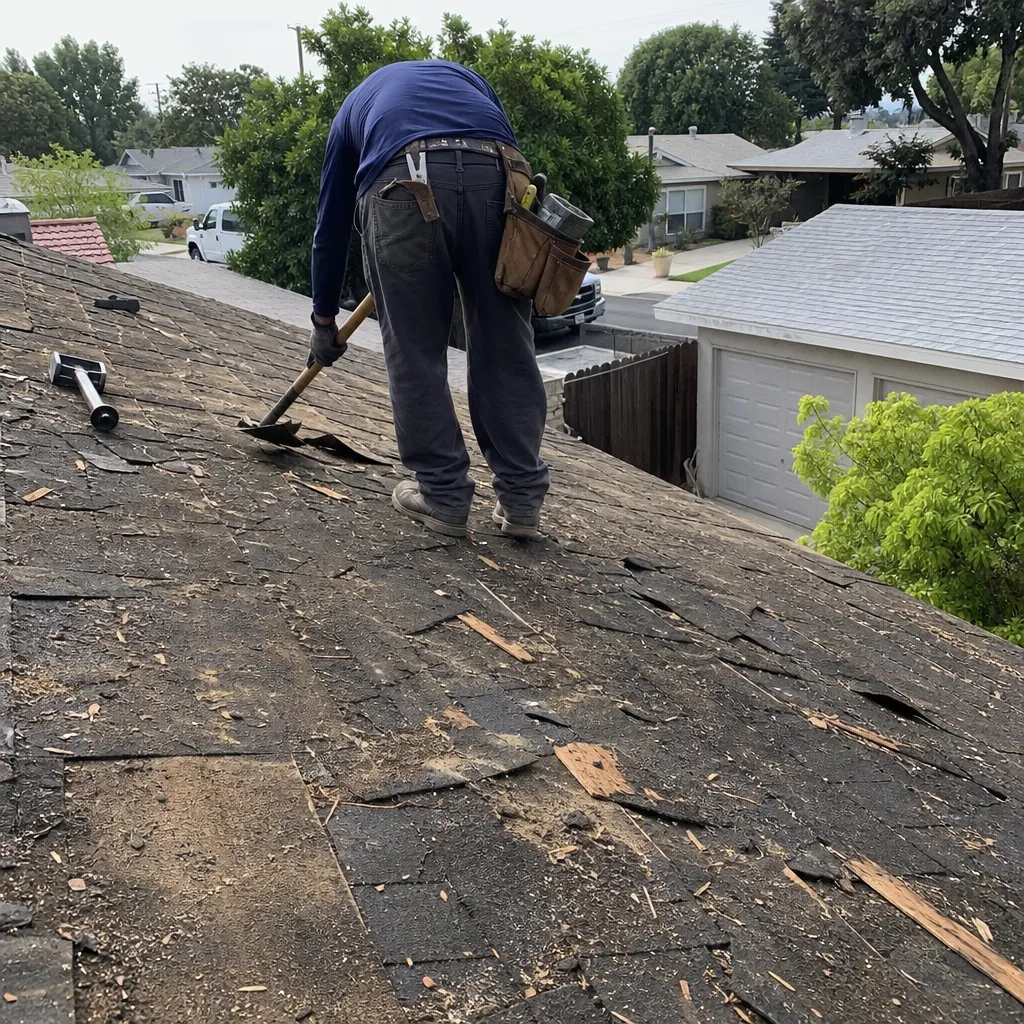 Before
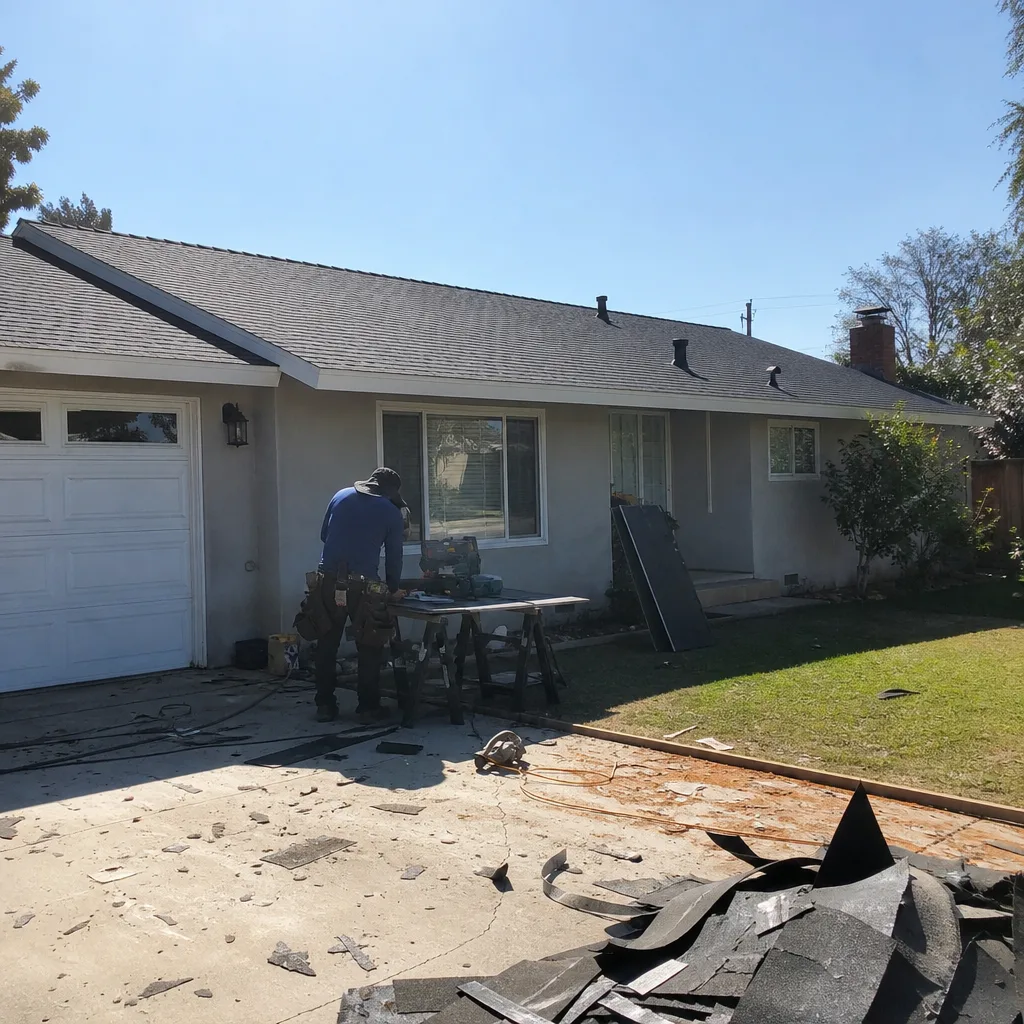 After
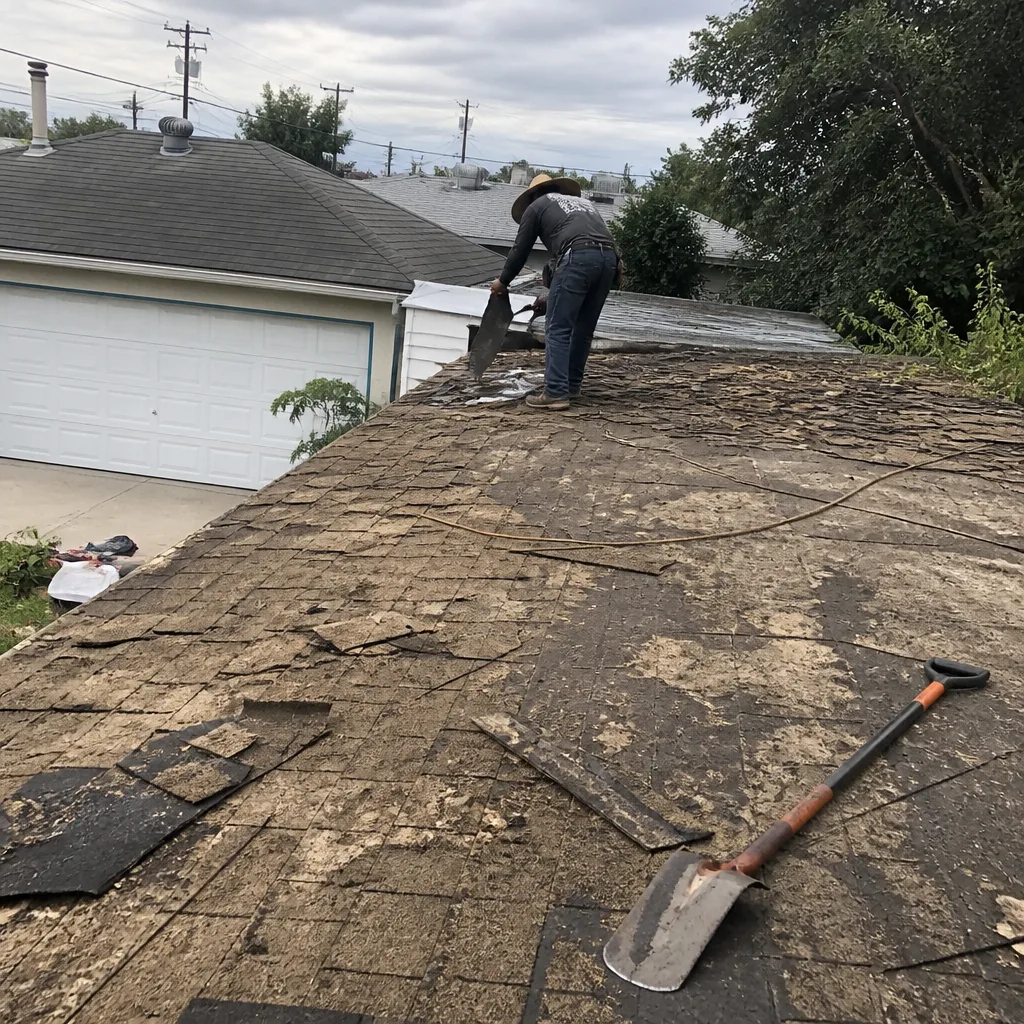 Before
 After
 Before
 After